Why Putting a Marshmallow in Your Brown Sugar Bag Stops It From Turning Rock Hard
At about eleven at night, halfway through making cookie dough for a thing I'd promised to bring to work, I opened my bag of brown sugar and found a single solid brick. Not clumpy. One piece, the exact shape of the bag, completely immovable. I stabbed it with a butter knife. I hit it on the counter. I eventually went at it with the handle of a wooden spoon and snapped the spoon, and then measured out a cup by chipping fragments off the corner like a tiny archaeologist.
I'd been doing some version of this for years, the folded-over bag, the clip, the bag inside another bag, and I'd thrown out at least four half-used bags because chipping at them wasn't worth it. I assumed brown sugar going hard was just what brown sugar does.
The fix came from a woman at a bake sale table who had, I swear, perfectly soft brown sugar in a jar with a marshmallow sitting on top of it. She'd been doing it for thirty years. My sugar has not gone hard since, and it's been about two years.
Why brown sugar turns into a brick
Brown sugar is just white sugar with molasses coating each crystal, and molasses is roughly 20% water. That thin damp film is what keeps the crystals sliding past each other: it's why fresh brown sugar is soft and packs into a measuring cup.
The moment that water starts evaporating, the molasses dries and the sugar crystals lock together into one crystalline mass. That's not spoilage; the sugar is completely fine to eat. It has simply fused. And because the bag is designed to be opened and closed rather than sealed, it loses water every single day it sits in your cupboard.
A marshmallow is about 15 to 20% water held in a gelatin and corn syrup matrix that gives it up slowly. Put one in a sealed container with brown sugar and the two reach a little moisture equilibrium: the sugar can't dry out because the marshmallow keeps topping up the humidity in that small sealed world. Unlike the bread or apple slice everyone suggests, a marshmallow is far too sugary to grow mold, so it doesn't rot on you in a week.
Step 1: Revive what you've already got
If yours is already a brick, don't throw it out. Put the sugar in a bowl, lay a damp paper towel over the top without letting it touch the sugar, cover the bowl, and microwave in 20-second bursts, breaking it up with a fork between each one. Two or three rounds usually does it. The steam re-wets the molasses and the crystals let go of each other. A rock-hard bag that you were ready to bin comes back completely in about a minute.
My Expert Tip: If you microwave hardened sugar, you have to use it that same evening. The heat drives moisture out of the molasses even as the steam is putting some back in, and what you're left with is softer right now but drier overall, so it re-hardens within a day or two, worse than before. I learned this by "fixing" a bag three times in one week and being confused each time. Microwave to rescue a batch you're about to bake with; use the marshmallow to keep a batch soft. They're solutions to two different problems and people mix them up constantly.
Step 2: Break it up and check the texture
Fork the sugar apart until there are no lumps bigger than a pea, and squeeze a handful in your fist. Properly soft brown sugar holds its shape when you release your hand, like damp sand. If it crumbles apart immediately it's already drying out and needs the marshmallow more urgently than you think. This takes twenty seconds and tells you exactly what you're working with.
Step 3: Get it out of the bag
This is the step people skip and it's half the solution. Transfer the sugar into a genuinely airtight container: a jar with a rubber gasket, a snap-lid box, anything with a real seal. A folded bag with a clip on it is not airtight, and the marshmallow trick barely works in one because the moisture it releases just wanders out through the fold. Glass or hard plastic both work fine. If the bag was already open a while, do this today rather than when you next bake.

Step 4: Drop in two or three large marshmallows
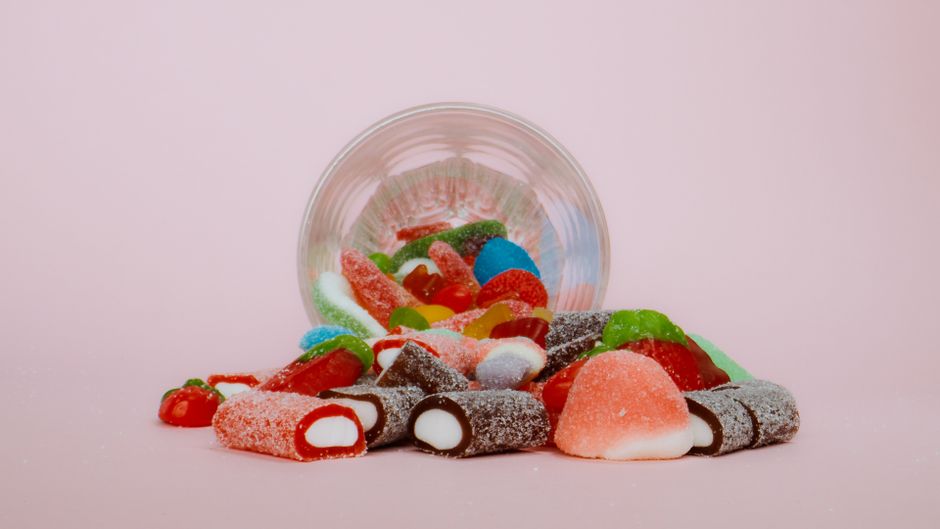
Put two or three standard-size marshmallows on top of the sugar and seal the lid. Use the big ones, not minis: minis have far more surface area for their volume, so they dry out and go useless within a few weeks, and they tend to weld themselves into the sugar. Two marshmallows is plenty for a normal bag; three if you've got a big catering-size container. They don't need to be buried or stirred in, just sitting on top.

Step 5: Store it somewhere cool and dark
Keep the container in a cupboard away from the oven, the stove, the dishwasher, and any window that gets sun. Heat accelerates evaporation, and the cupboard directly above a stove is the single worst place in most kitchens: which is, of course, exactly where most people keep the baking supplies. Moving mine one cupboard over made a noticeable difference on its own, before the marshmallow even got involved.

Step 6: Swap the marshmallows every few months
Replace them roughly every three months, or whenever you notice they've gone hard and shrunken themselves. That's the signal: a marshmallow that's turned into a little dry puck has given up all its water and is doing nothing for you. A fresh one goes in, the old one goes in the bin, and the whole thing costs about four cents a quarter. Don't eat the old one; it's been sitting in sugar for months and it has the texture of a pencil eraser.

Where this leaves my baking cupboard
Five seconds of effort per bag, and I've gone two years without a single brick. Before this I was throwing out roughly four part-used bags a year and chipping my way through the rest: not much money, maybe $12, but a genuinely infuriating amount of time at exactly the moment you least want an obstacle, which is always mid-recipe at night.
What I actually got back was the ability to start baking on a whim. A cupboard where every ingredient is ready to use is the difference between making something and deciding it's too much hassle, and brown sugar was the one thing in mine that regularly said no.
If marshmallows aren't your thing, a terracotta brown sugar saver soaked in water works on exactly the same principle and lasts indefinitely: about $7 and you never replace it. Just stay away from the bread slice and the apple wedge; both introduce enough non-sugar moisture to grow mold in a sealed container, and finding that is considerably worse than finding a brick.
Go press your thumb into the brown sugar in your cupboard right now. If it doesn't give, hit the share buttons below and send this to the friend who bakes and has definitely broken a spoon on theirs.